ServicesSurface Preparation and Sanding
Surface Preparation and Sanding in Bayonne
Paint shows every flaw underneath it. We fill the dings, scrape loose paint, sand out ridges and old patches, and spot-prime what needs it. You get flat, clean walls and ceilings that are ready for paint, with the dust kept in check.
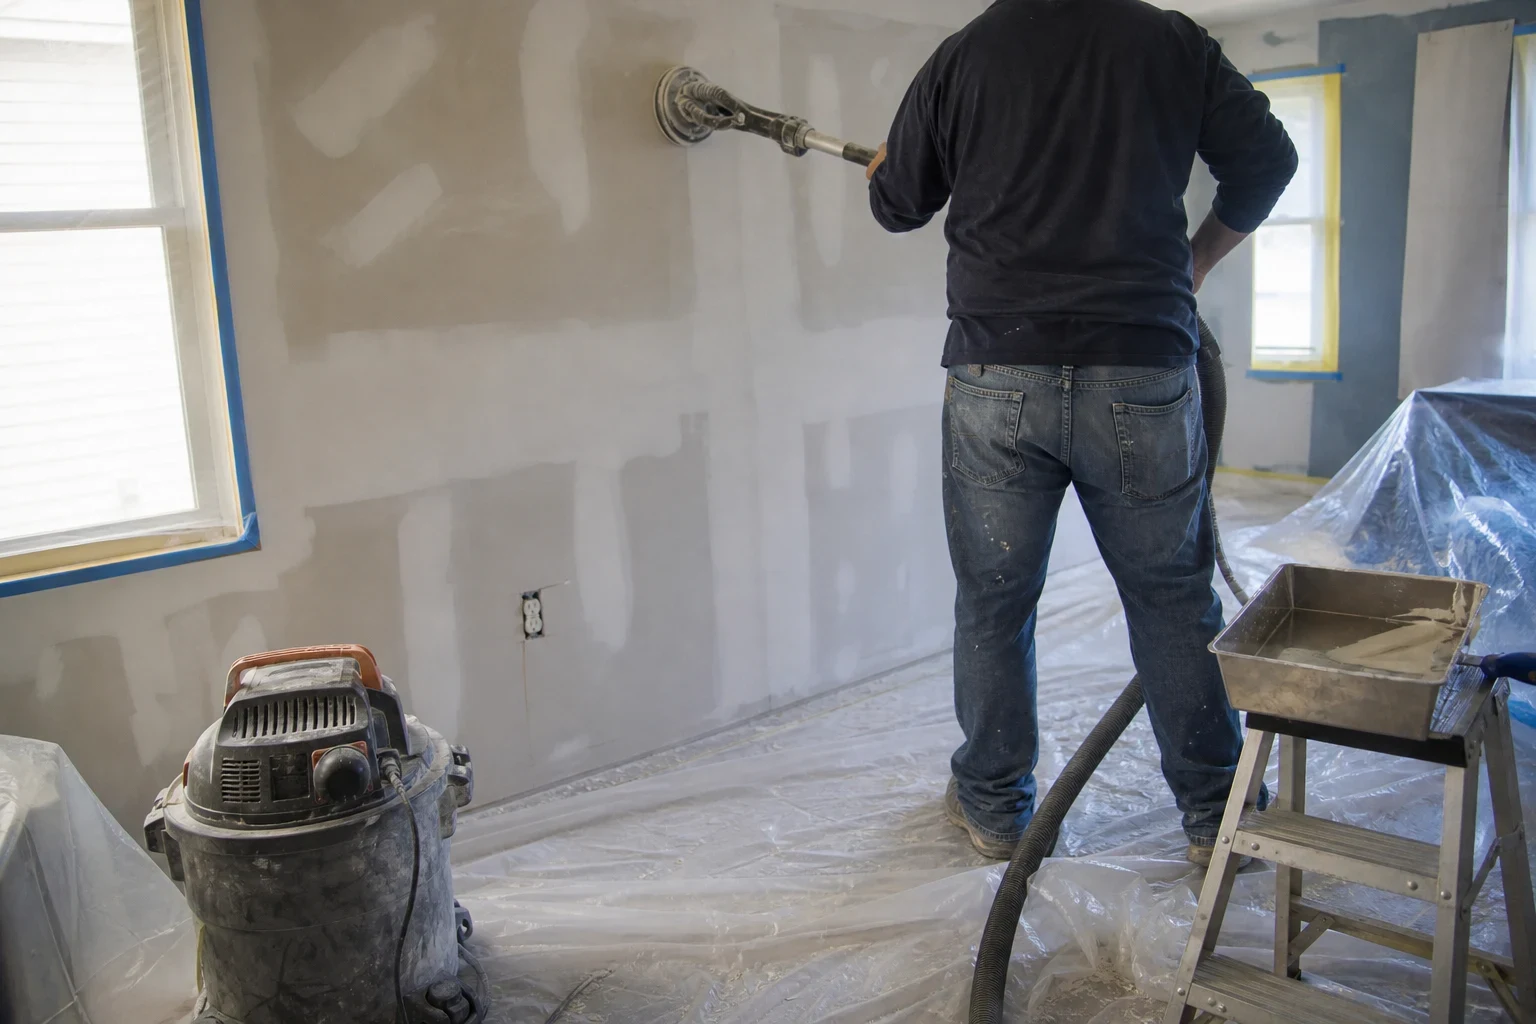
What prep and sanding fixes
Most bad paint jobs are really bad prep jobs. Nail pops, flaking edges, drips from old coats and patches that were never feathered out all show through new paint, and they look worse under a fresh sheen. Sanding and prep is the slow, unglamorous work that takes care of that before the brush comes out.
It makes the most sense when you know a repaint is coming. Maybe you plan to sell next spring, or a tenant moves out in two months. Booking the prep early gives the filler time to dry right and lets you line up the rest of the job without a rush.
In older homes with many layers of paint, we often find more than one problem on the same wall. We point those out on the walk-through, so you can decide what to fix now and what can wait.
What the work includes
Room protection
We cover floors with drop cloths and tape plastic over doorways, vents and anything that can't be moved. Outlet and switch covers come off and get set aside.
Scraping loose paint
Flaking and peeling paint gets scraped back to a firm edge. Painting over it just traps the problem under a new layer.
Filling and small patching
Nail holes, dents, hairline cracks and popped screws get filled with joint compound. Anything bigger than a small patch we handle as drywall patching or drywall repair.
Sanding with dust control
We sand with vacuum-attached sanders where we can and hand-sand corners and edges. Old ridges, roller lines and rough patches get feathered flat.
Spot priming
Bare compound and scraped areas get primer so they don't soak up paint and show as dull spots later.
Cleanup
We vacuum the walls, wipe them down and leave a clean work area. The plastic comes down last.
Signs your walls need prep before paint
Rough texture under your hand
Run your palm across the wall. Bumps, grit and dried drips will all show through a new coat.
Old patches you can still see
A square outline or a raised edge means the patch was never sanded and feathered out. Paint won't hide it.
Peeling or flaking paint
Paint that lifts at the edges, often in bathrooms or near windows, has lost its grip. It needs scraping before anything goes over it.
Shadows when the light hits
Low morning or evening light across a wall shows every dip and seam. If you see them now, you'll see them after painting too.
Lots of small holes
Years of pictures, shelves and TV mounts leave dozens of holes. They add up to a real job of filling and sanding.
How a prep day runs
- 1
Walk-through and quote
We look at each wall and ceiling with a work light and mark what needs attention. You get a clear picture of the scope and what it will take.
- 2
Protect the room
Floors, doorways and vents get covered before any tool comes out. We ask that small items and wall hangings be cleared ahead of time.
- 3
Fill, then let it dry
Holes and cracks get filled. Deeper spots may need a second coat, which is why bigger rooms can run over two days.
- 4
Sand and check
We sand everything smooth, then run the work light across it again. Anything that still shows gets touched up and sanded again.
- 5
Prime and clean up
Repaired spots get primer, the walls get wiped down, and we leave the room ready for paint.
What moves the cost of prep and sanding
We price prep by what the walls actually need, not a flat number per room. Two rooms the same size can be very different jobs. You'll know the scope before we start.
- Condition of the surface
- A few nail holes is a short job. Peeling paint, many old patches and deep gouges take more hours of filling and sanding.
- Square footage and ceilings
- More wall area means more sanding. Ceilings take longer than walls because the work is overhead.
- Access and height
- Stairwells, tall ceilings and tight hallways need ladders or planks and more setup time.
- How much protection the room needs
- An empty room is quick to cover. A furnished room with built-ins or nearby open areas takes more plastic and care.
- Old paint concerns
- If older paint needs to be checked for lead before sanding, that step adds time and may change how the work is done.
Common questions about prep and sanding
Something not covered here? (201) 584-5880
Why not paint right over it?
You could, but every flaw stays put. Fresh paint, eggshell and satin most of all, makes bumps and old patches stand out more. Good prep is what makes the paint look done.
Will sanding fill the house with dust?
Sanding always makes some dust, but we limit it. Where we can, we use sanders hooked to a vacuum, cover doorways with plastic and vacuum before we go. Nearly all of it stays in the room we work in.
Is it safe to sand in an older house?
Older paint layers in homes built before 1978 can contain lead. We raise this before sanding starts and suggest testing the paint first. If it does have lead, the method changes, and we go over it with you.
Will you paint once the prep is done?
We touch up paint over the areas we repair. For a full repaint, we hand off the walls sanded, primed and ready for the painter.
When should I schedule the prep?
Once you know you are repainting. Filler takes time to dry, and some walls need a second round. Booking early gets the prep finished well ahead of your paint date.
Get your walls ready before the paint date
Tell us which rooms you're planning to repaint and when. We'll come look, mark what needs work and give you a clear scope.